
Orchid Care
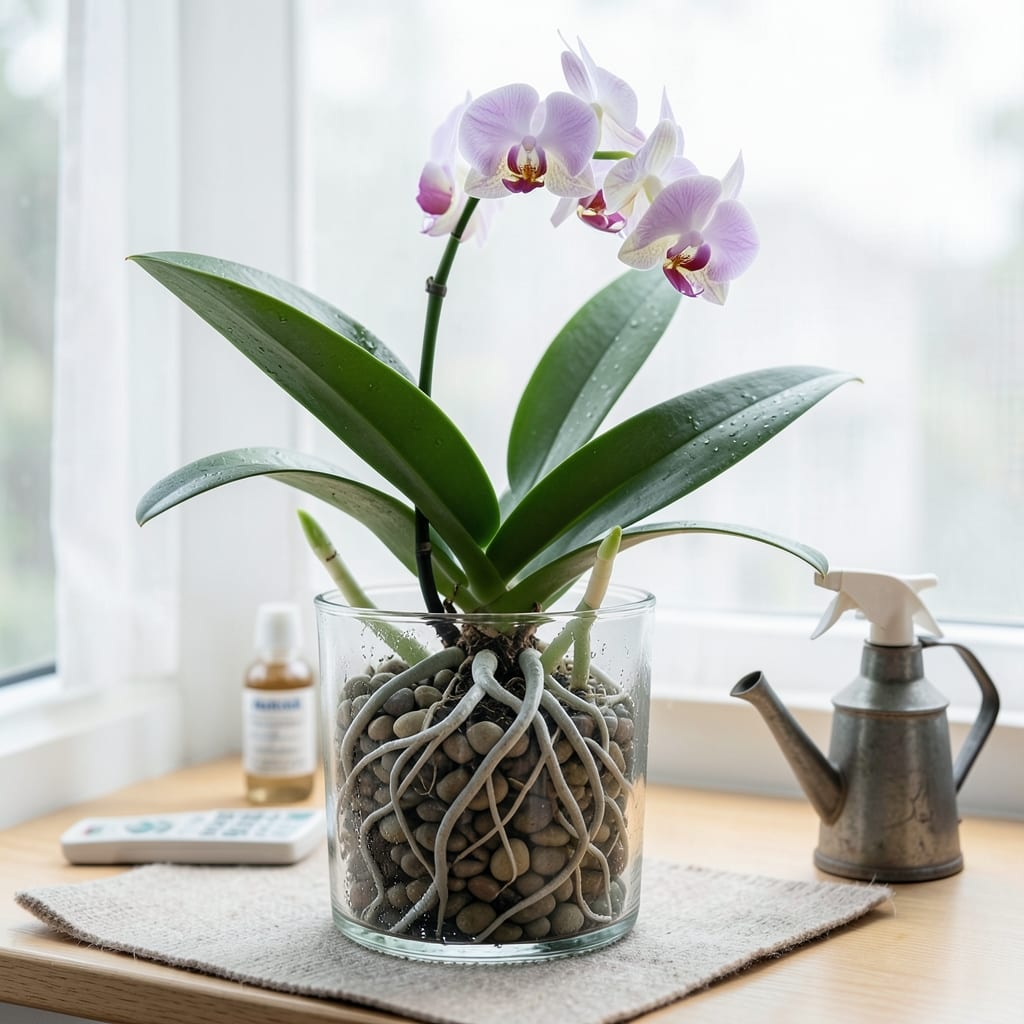
If you’ve ever stared at your orchid’s bare rhizome and wondered how long for orchid to grow new roots, you’re not alone—this is the #1 question I hear from beginners (and even seasoned growers!). The truth? There’s no one-size-fits-all answer, but understanding the month-by-month timeline and key growth signals can turn frustration into excitement.
Your orchid’s roots—those often-overlooked workhorses—can take anywhere from 4 to 12 weeks to show real progress, depending on whether you’re growing a Phalaenopsis (the classic "moth orchid") or a Cattleya, and how closely you mimic its tropical home. The first sign? Tiny white or green tips popping up like magic at the nodes, followed by silvery-gray thickening over 6–8 weeks. But here’s the kicker: rushing the process with too much water or dim light can backfire big time.
In this guide, I’ll break down exactly what to expect each month—from those first hopeful sprouts to roots thick enough to absorb water like pros. You’ll also learn the 5 critical signs your orchid is actually thriving (or secretly struggling), plus my top tips to speed up growth without risking rot. No guesswork, just science-backed steps to get your 🌸 back on track.
Ready to transform your orchid from "barely surviving" to "rooting like a champ"? Let’s dive into the timeline, signs, and secrets that’ll have your plant thriving in no time.

Orchid root growth timeline: what to expect month by month
Understanding the orchid root growth timeline transforms guesswork into a clear roadmap for your plant’s health. Whether you’re repotting a Phalaenopsis or nurturing a Cattleya, roots follow predictable stages—though speed varies based on care. Here’s what to expect, from those first tiny white tips to mature, water-absorbing roots ready to support blooms.
New roots typically emerge within 2–4 weeks after repotting or stress relief, but full functionality takes 3–6 months. The key? Creating conditions that mimic their tropical origins—high humidity (60–70%), bright indirect light, and well-aerated media. Skipping these can stall growth or invite rot, so let’s break it down by stage.
| Timeframe | Root Development Stage | Visual Signs | Care Adjustments Needed |
|---|---|---|---|
| Weeks 1–2 | Dormant/Initial Sprouting | Tiny white or green tips emerge from nodes; no visible thickening | Increase humidity to 50–70%; avoid overwatering |
| Weeks 3–4 | Early Growth | Roots turn silvery-gray or green; slight elongation (0.5–1 inch) | Bright indirect light; reduce fertilizer to half-strength |
| Month 2 | Accelerated Growth | Roots thicken (pencil-sized); may develop velamen (spongy outer layer) | Repot if roots exceed pot size; increase airflow |
| Months 3–4 | Functional Roots | Roots absorb water when submerged; air roots may appear | Gradually reintroduce full-strength fertilizer; monitor for rot |
| Months 5–6 | Mature Roots | Roots fully cover pot edges; thick and leathery | Prune dead roots; transition to regular watering schedule |
Notice how Phalaenopsis orchids often show faster initial growth compared to Cattleya, which may take longer to thicken. The velamen layer—that silvery, spongy coating—is critical for water absorption. Without it, roots struggle to hydrate, even if submerged. Test this by dipping roots in water: healthy ones plump up within minutes.
By month 3, your orchid’s roots should be functional enough to support new blooms, but don’t rush to fertilize. Overfeeding at this stage can burn tender roots. Instead, focus on air circulation—gently fan leaves daily to mimic tropical breezes, which strengthens root structure.
If roots still haven’t sprouted by month 2, revisit your care routine. Common culprits include low light (below 1,000 lux), stagnant water (plastic pots trap moisture), or lack of humidity. A simple fix? Move your orchid to a pebble tray or use a humidifier near the plant.
By month 6, mature roots should cover the pot’s edges and feel firm like a pencil. This is your cue to prune dead roots (black or mushy) and adjust to a regular watering schedule. Pro tip: Use room-temperature rainwater or distilled water to avoid chlorine damage.
Remember, orchids grow in cycles. Even if roots stall during winter, they’ll resume growth with spring’s longer daylight. Track progress with a monthly root check: Gently remove the orchid from its pot to inspect for new growth—this hands-on approach reveals more than surface observations.
🌱
5 Critical signs your orchid roots are growing (or not)
Spotting the right signs early can save your orchid from months of stalled growth—or worse, rot. Many growers mistake slow progress for failure, but orchids grow in cycles, and roots often hide their progress until they’re nearly mature. Here’s how to tell if your 🌸 orchid’s roots are thriving (or secretly struggling) without waiting for the full timeline.
The first clue? Color changes. Healthy new roots start as tiny white tips at the nodes, then transition to green (Phalaenopsis) or silvery-gray (Cattleya). If you see yellow or black tips, that’s a red flag for rot or overwatering. Phalaenopsis roots often turn vibrant green when happy, while Cattleya roots develop a metallic sheen—both are good signs!
Healthy new roots start as tiny white tips, then turn green (Phalaenopsis) or silvery-gray (Cattleya). Red flag: Yellow or black tips indicate rot.
Mature roots should feel firm and leathery (like a pencil). Warning: Mushy or hollow roots signal overwatering.
Test by dipping roots in water: Good roots plump up; bad roots stay limp or leak. Pro tip: Healthy roots should recover within 24 hours.
New roots may grow outside the pot—this is normal! Mistake: Pruning air roots too early can stunt growth.
Action required: Check light (too dim?), humidity (below 40%?), or fertilizer (lack of nitrogen?). Adjust and monitor for 4 weeks.
One of the most misunderstood signs is air roots growing outside the pot. Many growers panic and prune them, but these are often the healthiest roots—they’re actively seeking humidity and light. Instead, let them grow for 4–6 weeks before deciding whether to trim. If they’re thick and green, leave them be!
If your orchid shows no progress after 3 months, don’t assume it’s a lost cause. Orchids can enter a dormant phase, especially in winter. Before giving up, check these three key factors: light levels (use a light meter—aim for 1,000–2,000 lux), humidity (below 40% stalls growth), and fertilizer (lack of nitrogen slows roots). A simple fix? Move your orchid to a bright bathroom window or add a humidifier nearby.
Pro tip: Use a mirror or clear pot to monitor roots without disturbing them. Place your orchid on a reflective surface—you’ll spot new growth weeks earlier than by just looking at the pot’s edges. This trick saved my Phalaenopsis last winter when it seemed dormant but was actually rooting aggressively underground!
🪴