
How To
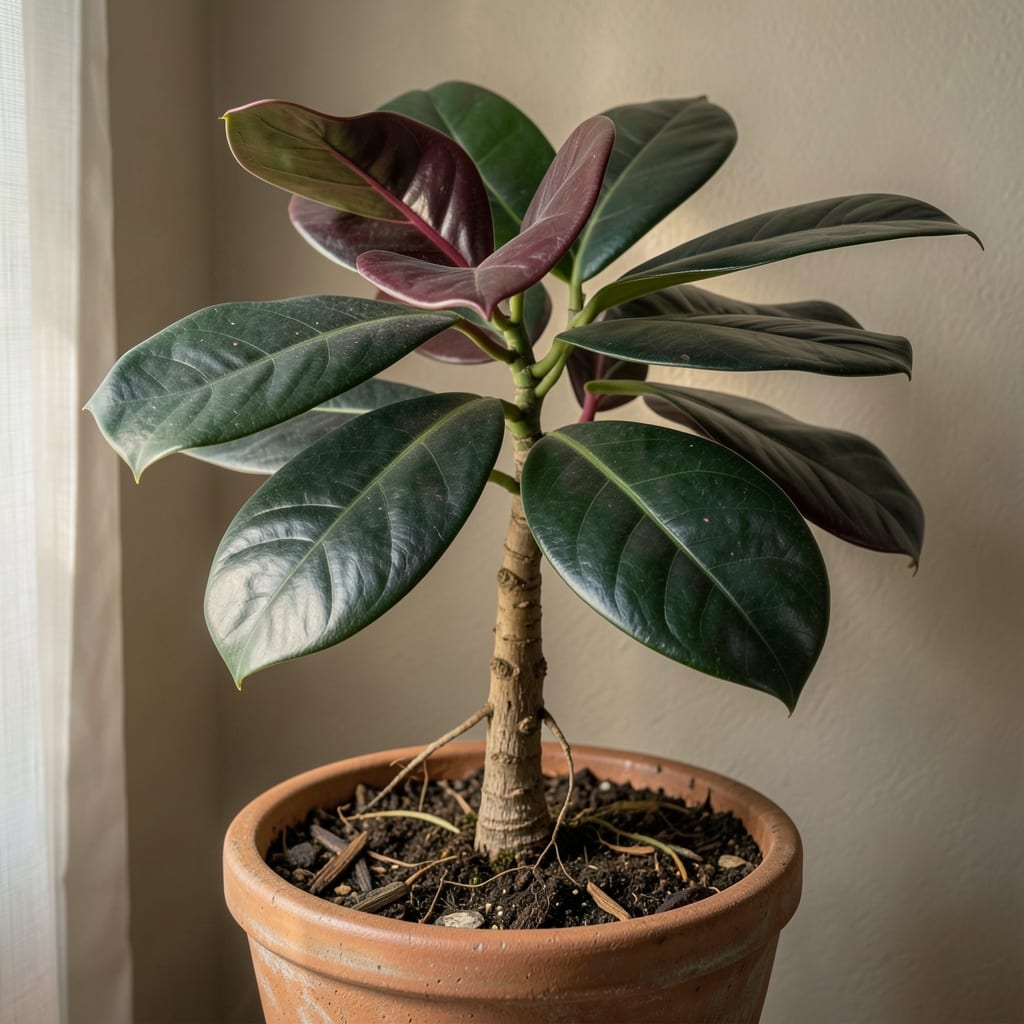
If your rubber plant 🌿 is looking sad—yellowing leaves, stretched stems, or brown tips—you’re probably dealing with the wrong light conditions. The right amount of brightness keeps those glossy leaves vibrant and your plant thriving, but getting it just right can feel like a guessing game.
Here’s the truth: rubber plants aren’t fussy, but they do need bright indirect light to shine (literally). Too little, and they’ll stretch toward any light source like a sleepy cat reaching for the sun. Too much, and those stunning leaves can scorch in direct rays. The key is finding that sweet spot—whether you’re working with a north-facing window or need to supplement with artificial light.
In this guide, I’ll break down exactly how much light your rubber plant needs—from ideal brightness zones to spotting the signs of light stress. You’ll learn how to adjust placement, use sheer curtains, or even pick the best grow lights for low-light spaces. No more guessing—just a thriving, showstopping plant.
Ready to turn those droopy leaves into lush, healthy foliage? Let’s dive into the science (and simple fixes) that’ll have your rubber plant looking its best in no time.

Rubber plant light requirements: ideal brightness zones explained
Rubber plants (Ficus elastica) thrive in bright indirect light, but what does that really mean for your home? Unlike sun-loving succulents, these tropical beauties need filtered sunlight—think of it as standing under a canopy of trees on a sunny day. Too little light, and they’ll grow leggy; too much direct sun, and those stunning leaves can develop brown scorch marks. The key is understanding your home’s light zones and how to position your plant for success.
Most rubber plants do best with 4-6 hours of bright, indirect light daily. This translates to placing them 2-3 feet away from an east- or north-facing window, where morning sun is gentle. South-facing windows can work too, but you’ll need to diffuse the light with a sheer curtain to prevent leaf burn. West-facing windows are trickier—the intense afternoon sun can quickly become too harsh, so avoid placing your rubber plant directly in that spot.
Here’s how to identify your home’s light zones: North windows offer the softest, most consistent light, while east windows provide morning brightness without the intensity of afternoon sun. South windows are the brightest but require filtering, and west windows are best avoided unless you’re using artificial light supplements. Even within a single room, light intensity varies—corners and spaces farther from windows naturally receive less light.
The science behind rubber plant lighting comes down to chlorophyll production. These plants evolved in tropical understories where sunlight is abundant but rarely direct. Their leaves have a waxy coating that reflects excess light, but too much intensity can overwhelm this natural defense. Variegated rubber plants (with white or pink stripes) are especially sensitive—their lighter leaf areas produce less chlorophyll, making them more prone to sunburn when exposed to harsh light.
Seasonal light changes also play a huge role. During winter months, daylight hours shrink, and sunlight is less intense. This is when rubber plants often show signs of light deprivation, like elongated stems or yellowing leaves. To compensate, I recommend rotating your plant every 2-3 weeks so all sides get even exposure. If you notice leaves leaning toward the window, it’s a clear sign your plant is reaching for more light—time to move it closer or supplement with a grow light.
For outdoor rubber plants, the rules shift slightly. These tropical plants can handle morning sun outdoors (especially in USDA Zone 6+), but afternoon sun can still cause damage. If you’re growing yours outside during spring or summer, place it in partial shade—think dappled sunlight under a tree or on a shaded patio. Bring it indoors before temperatures drop below 50°F (10°C) to protect it from cold drafts.
Pro tip: If your home lacks natural light, grow lights can be a game-changer. Look for full-spectrum LED lights that mimic natural sunlight, and position them 6-12 inches above your rubber plant for 12-14 hours per day. This mimics the long daylight hours of their tropical habitat and prevents that dreaded leggy growth. Just avoid placing the light too close—leaf burn from artificial sources is just as real as from sunlight!
Remember, rubber plants are forgiving—they can adapt to a range of light conditions, but the results vary dramatically. A plant in optimal light will have thick, glossy leaves and a compact, bushy shape, while one struggling for light will stretch and weaken. By mastering these brightness zones, you’ll keep your rubber plant looking its absolute best—no guesswork required.
Signs your rubber plant isn’t getting enough (or too much) light
Your rubber plant 🌿 is like a mood ring—its leaves scream when the light is wrong. Too little light triggers leggy growth (long, weak stems with sparse leaves), while too much causes brown scorch marks along leaf edges. These visual cues are your plant’s way of saying, “Adjust me now!” The good news? Once you recognize these signs, fixing the issue is simple—just move the plant or tweak its environment.
Start by checking your plant’s leaf color. Healthy rubber plants have deep green, glossy leaves, but when light-starved, leaves turn pale yellow or lime green. Variegated varieties (like ‘White Knight’ or ‘Tineke’) will lose their striking patterns as the white/pink areas fade. On the flip side, direct sun exposure causes crispy, brown or white patches—like someone took a lighter to your plant’s edges.
Here’s the quick diagnostic